Walkthrough - Mission 12
The Cure
Note: All locks that require keys are noted. Everything else is either unlocked or can be opened with your lockpicks.
Loot Map & List
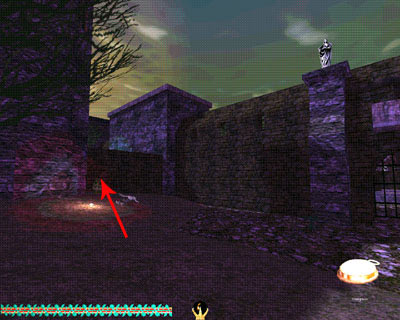
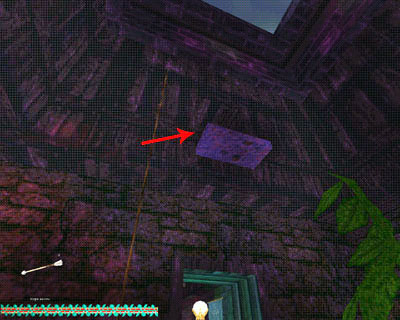
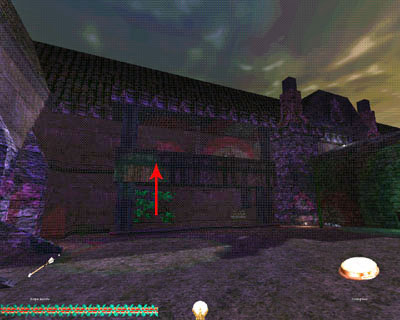
You begin the mission in a dark creepy area full of dilapidated buildings. Enter the building to your left (S), pick up a silver nugget (+50) from the floor and open a chest to pick up 2 mines. Grab a rope arrow that's lodged in the rafters then go back outside and walk west into a courtyard. Pluck a water arrow from the water trough to the north then crawl through the cobwebby window beside it.
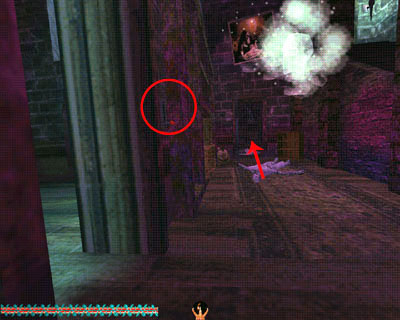
Pick up a moss arrow that's lying on the ground to your left as you enter the room and rope arrow up to the broken floor above the west side. Walk into the next room when the patrolling zombie has left, read the book on the table and pick up a green gem (+100 = 150) that's lying beside a Dewdrop dolly. Climb the ladder to the loft and grab a goblet (+15 = 165) that's sitting on the table.
Climb back down to the lower floor and walk along the hallway that the zombie patrols and into the room at the far end. There's a gold wine bottle (+50 = 215) lying in the northeast corner beside the wine rack and a water arrow inside the chest in the other corner.
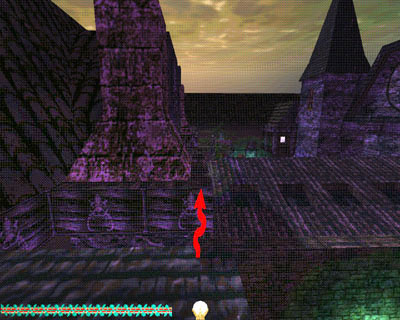
Exit through the door in the southwest corner, rope arrow over to the beam and go through the hole in the north wall onto a flat roof top. Climb down a ladder into a machinery room, where you'll find a gem (+100 = 315) inside a chest. Return to the roof, crawl back through the hole and rope arrow down to the loft below then climb down a ladder into the library.
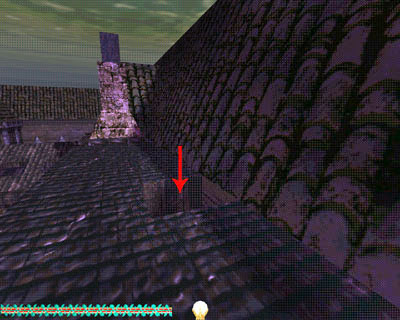
Crawl through the hole in the west wall, and then turn left (S). Rope arrow up onto the wooden porch roof to your left and walk all the way to the far end where you'll find a gas arrow. Walk back to the other end and jump over to the small wooden roof to the south. Climb through the window into a bedroom but beware because its current occupant is a large green spider. Pick up the silver candlestick (+35 = 350) then rope arrow up into the rafters and open the chest in the northwest corner to add another mine to your arsenal.
Squeeze through the hole in the southeast wall and pick up a gold wine bottle (+50 = 400) that's lying on the floor. Rope arrow down into the room below, pull a broadhead out of the floor and pick up a small gray urn (+20 = 420). Walk along the hallway back into the room you were in earlier and through the doorway in the west wall. Turn left, go down the stairs and pick up a spider egg that's lying near a big green spider. Walk north and crawl through a hole in the east wall back out into the courtyard.
Head north then west and climb up on a barrel that's sitting against the low wall on the right. Mantle up onto the top of the wall and drop down into the yard behind.
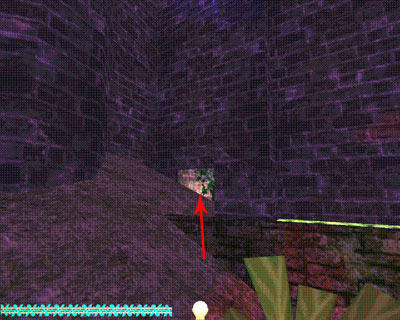
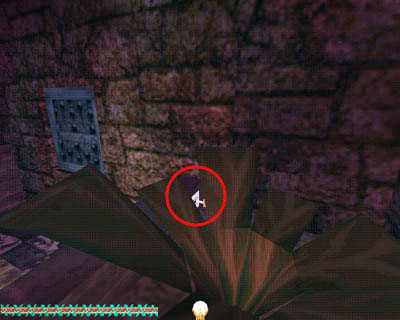
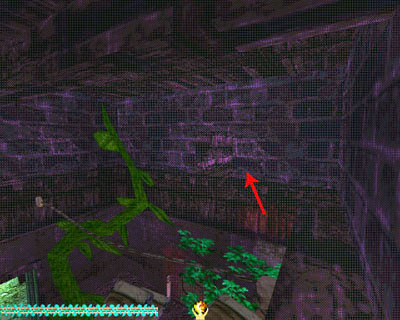
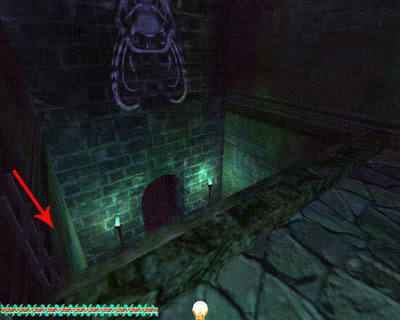
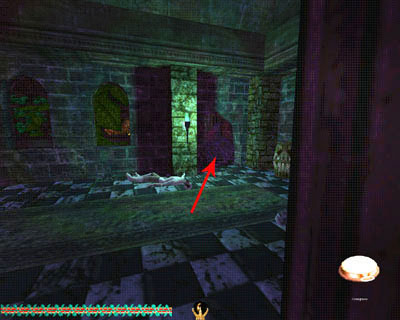
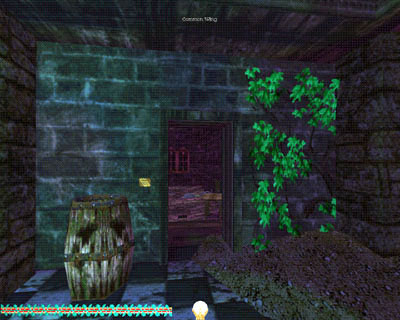
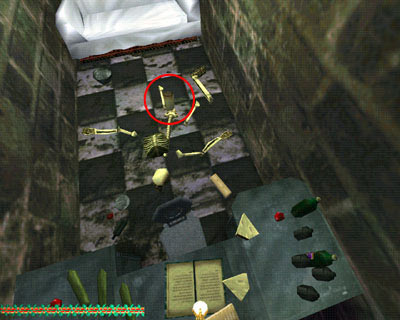
Pick up a moss arrow from the SW corner and a silver nugget (+50 = 470) from the NW corner then go through the door in the north wall. Head into the half buried doorway and rope arrow up to the remnants of the upper floor where you'll find a ring (+54 = 524) tucked away in a chest. Drop back down to the lower floor and crawl through the hole in the north wall out into the grounds outside the Hospital gate.
Jump into the pond by the front gates, pick up 2 water arrows then go over to the front gate and read the book lying on the ground which turns out to be the first part of the diary of the Priestess Alinya. You'll receive a new objective to find out what happened to the hospital by finding the rest of the diary.
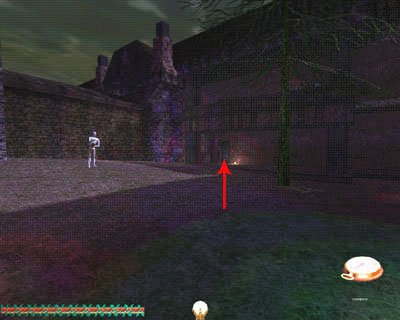
Turn the wheel beside the gate to open it then head over to the left-hand side of the gate where there's a patch of shadow to stand in as more undead creatures will now appear, including floating skulls which are pretty nasty.
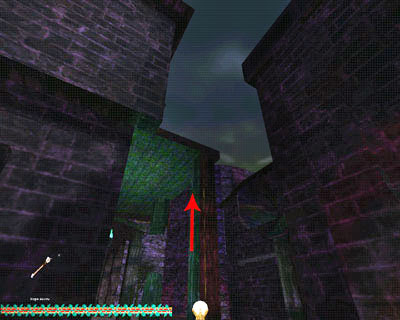
When the gate has risen high enough, go through and you're inside the hospital.Objective complete! Walk east to a partially boarded up doorway and go through into the Hospital.
The Hospital
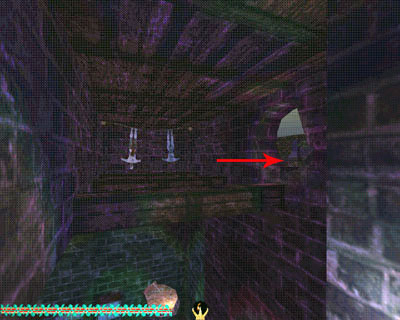
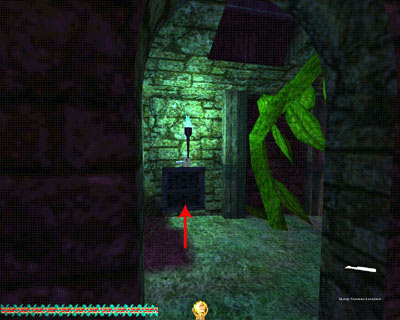
Turn to the right, pick up a moss arrow from the floor and a goblet (+15 = 539) from the autopsy table then go through the door in the north wall. Take a red rolled tapestry (+70 = 609) and a healing potion from the shelves. There's a lever on the wall that opens the door at the west end of the room but make sure you're ready to dart into the shadows near the stairs when you flip it because there's a floating skull creature inside ready to pop out when released. Once he's moved off, go in and pick up a ring (+100 = 709) and then climb the stairs.
There are 2 lucky coins (+40 = 749) on the shelves to the left of the door. Walk through the west doorway and into the hall then turn right. At the east end of the room you'll find another portion of Alinya's diary lying on the floor. Read it then go through the doorway into the East Garden. Take care that the skull creature patrolling the hallway doesn't spot you through the windows. Pick up a silver nugget (+50 = 799) from the left-hand garden then flip a lever in the right hand garden to open the safe in the end wall. Inside you'll find the spider egg and a gem (+100 = 899). This is one of the precious stones you are required to steal though there's no way to tell as it only goes into your inventory as loot.
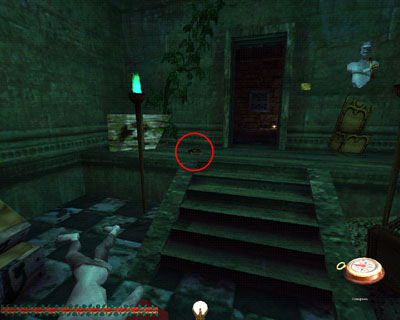
Rope arrow up to the ledge over top of the door and crawl through the hole onto the beams above the other room. Make your way to the west end of the room where you'll find another hole to crawl through. After you enter the passage, you'll be notified that you found Secret #1. About halfway along the passageway, look above your head and you'll see a gas arrow. Pick it up and continue out the other end of the passageway into the rafters above the kitchen. Lower yourself down to the floor, pluck a water arrow from one of the sinks and go through the southwest door. Walk through a small room and down a flight of stairs. Jump off the side into the puddle of water and grab the small silver statue (+15 = 914), lying in a puddle of water at the base of the stairs opposite the bunk beds. In the room across from the bottom of the stairs, you’ll see a ghost waking up a zombie. Quickly read the book that is sitting on the windowsill and you'll see it's another section of Alinya's diary. Run back up the stairs before the zombie spots you.
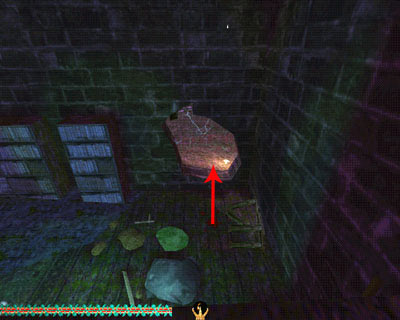
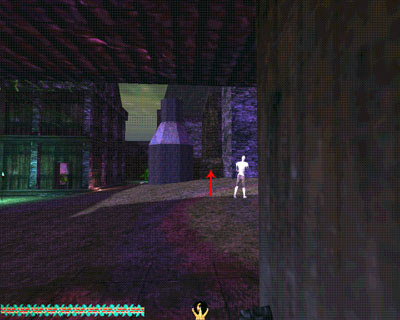
Return to the kitchen and leave through the north door. Be very cautious in this area as there are two skull creatures patrolling, one on either side of you. Turn left (W), look behind the right-hand bookcase and you'll see a statue (+15 = 929) lying on the floor. Pick it up then go through the east doorway on to a walkway and climb over the left parapet onto a ladder. Check below before you climb down as is another skull creature patrolling here. When you're down on the ground, go through the arch into the frontfoyer and pick up a gold candlestick (+25 = 954) from the table in the southeast corner. Pick open the lock box that's mounted on the wall in the northeast corner above a safe-like door.
Crawl through the door into a large courtyard patrolled by several zombies. Walk straight ahead (E) to a porch where there are several turbines. Open a chest to pick up a rope arrow then walk to the north end of the porch and go through the last archway back into the courtyard. Enter the wooden building to your right (N) and scoop up a gold goblet (+25 = 979) from the ground.
Walk to the south side of the courtyard and rope up to the balcony. Walk through the door into a hallway and take a broadhead and a healing potion from the shelves against the south wall.
Return to the balcony, climb the ladder to the roof, pick up a gas arrow that's lying off to the right then walk west. At the edge of the roof, jump across to a ledge and follow it to the far end where you can jump across to another roof. Pick up another gas arrow then use a rope arrow to lower yourself down through the hole in the roof to another balcony. (You can just jump down onto the crates below, but they smash and the noise can alert the skull creature that's patrolling the hallway.)
Exit through the west door, cross the hallway and turn left into the West Garden, where you can pluck a moss arrow from the left-hand planter box. Leave the garden, turn left and jump through the broken window. Open the chest to pick up a spice bag (+55 = 1034). Jump back through the window, return to the main hallway and turn left into the Common Wing (look out for the patrolling haunt here). Grab a flashbomb from the table on the right then continue through and into the Noble Wing.
There's a gray urn (+20 = 1054), lying on the floor in the first room on the left and in the room on the right you can scoop up a gold hammer (+ 50 = 1104) from the floor and a purse (+100 = 1204) and a flashbomb from the bookshelves. In the last room on the left you'll find an amulet (+100 = 1304) lying on the table. Leave the room, turn right and go down a set of stairs. Turn right at the bottom and go out into a courtyard.
Walk around the wooden building on the right and enter at the far end. Pick up a spider egg from the far corner then climb the ladder to the upper floor where you'll discover a vase (+50 = 1354) inside a chest. Return to the courtyard and continue south to the Dining Hall – look out for the haunt in here. There's a fire arrow in each of the open ovens and a gold wine bottle (+50 = 1404) sitting on one of the tables. Go back outside and walk straight ahead until you come to a low wall on the right. Climb on top and then jump down on the far side. Dive into the canal and swim east through an archway, then climb up onto the platform on the right-hand side. Open the door, go through to the second room and climb a ladder to the upper room. Read a note that's lying under the edge of the bed and you'll discover that the man who lived here hid the gem you found in the East Gardens.
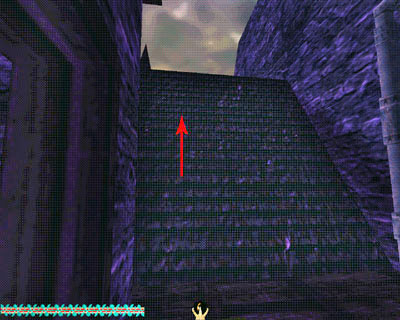
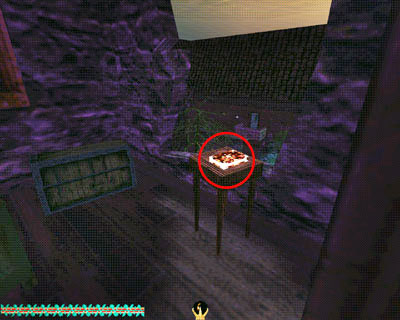
Open the door, go out onto the balcony and jump over the railing to the rooftop to the west. Climb the steep roof (press into the "V" where the roof meets the wall to make climbing it easier) and you'll find a gas arrow. Run down the steep roof on the other side onto the ledge below then hop from it to another tower balcony. Enter thetower room, open the chest and you'll pick up the second precious stone (+100 = 1504). Objective complete! Read the book, which is the last piece of Alinya's diary. Objective Complete!
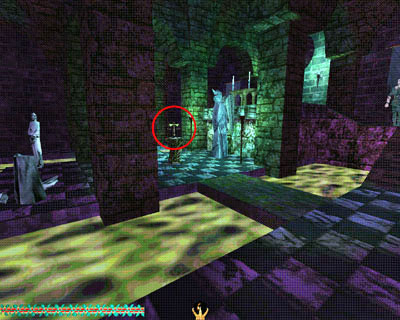
Jump off the balcony into the canal below and swim north through an archway. Pick up a water arrow from the bottom and then mantle out onto the walkway. Head east into a chapel and you'll see the Scales of Amaris sitting on a platform in the centre of the room.
T2X Offices
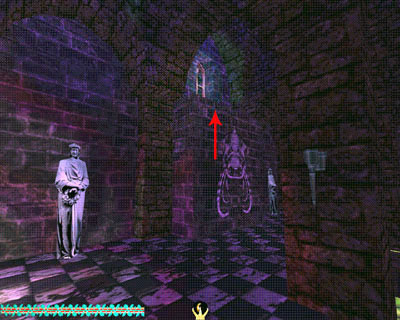
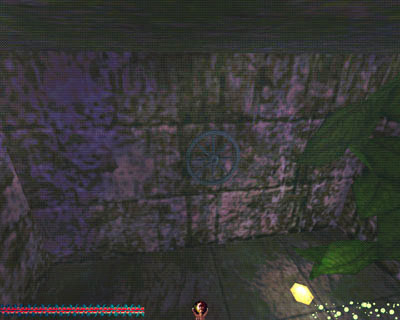
Before getting the scales, turn to your left (N), and you'll see a wall with a large design etched on it. You'll need to go back outside and find 4 or 5 crates then bring them back here. (You don't have to go far. There are 2 beside the canal near the door to the first tower, 2 more on the upper floor of wooden building south of the chapel and 3 more stacked in a corner beside the Dining Hall porch.) Stack them against the wall with the design and mantle up onto the top. You'll find a fire arrow and a hole in the floor with a ladder leading down to a lower floor. Climb down it and you'll enter the Offices of T2X! Secret #2 (More of an Easter Egg, actually!)
Have a look around and don't forget to move the boxes and go into Raen's office. The second quote scroll is lying on the floor. Head into Avalon's office and flip a lever under the desk to open a secret door behind the banner. Leave by climbing up the ladder and jumping down onto the box pile.
The Scales Of Amaris
Walk up the stairs to the altar and help yourself to 2 silver candlesticks (+70 = 1574). Grab the Scales of Amaris from the center platform. Objective Complete! Be prepared to jump into the water as some nasty creatures will appear and try not to let them spot you as they will follow you into the water to attack. When you took the Scales, the main exit and the other way out (the circular opening in the south wall) were both blocked by grates. Listen, and you'll hear something grinding closed.
Duck underneath either the east or west walkway and you'll see an opening into a flooded Room. Swim over and turn the wheel that's mounted on the north wall. This will reopen the grates. Now just wait until the coast is clear and get the heck out of here, one way or the other! If you use the alternative exit, turn right (W) at the bottom of the ladder and swim back to the walkway that leads into the Temple. Mantle up onto it and turn left.
Leaving the Hospital
Flip the lever to the right of the doors to open them. Walk south through the courtyard and rope arrow up onto the balcony above the Dining Hall porch. Go through the east door into a hallway, turn left (E) and then turn right into the kitchen. Walk through the southwest door, through a small room and down some stairs. (Yes, you've been here before.) Head through the archway across from the stairs and into the second room. Flip a lever on the wall to open the side gate and go out into the courtyard.
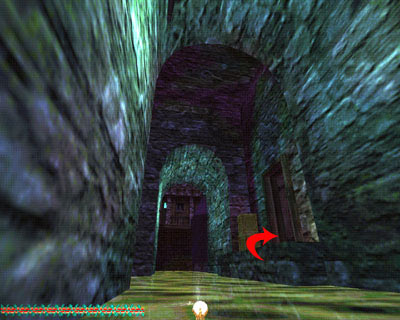
Walk south along the side wall and then turn left. Crawl through the hole in the wall and rope arrow up to the broken floor on the east side of the room. Walk east along the hallway and in the room at the end, jump across the gap in the floor and climb the ladder to the rooftop. Go through the hole in the south wall, turn left and jump to the hallway. In the room at the end, turn left and walk along another hallway. Enter the room at the end and exit through the NE door. Rope arrow down to the lower floor, crawl through the cobwebby opening in the south wall and walk out into the courtyard.
Mission Complete!
|